Proper AC installation is essential for maintaining a comfortable indoor environment. Whether upgrading an old air conditioning system or setting up a new one, professional AC installation secures efficient cooling, lower energy bills, and a longer lifespan for your unit. Choosing the right air conditioner, understanding the installation process, and hiring experienced technicians are essential for a successful setup.
We will discuss the importance of AC installation, key factors to consider before installation, step-by-step installation guidelines, and tips to maximize the efficiency of your AC unit.
Why Proper AC Installation is Important

Why Professional AC Installation Matters
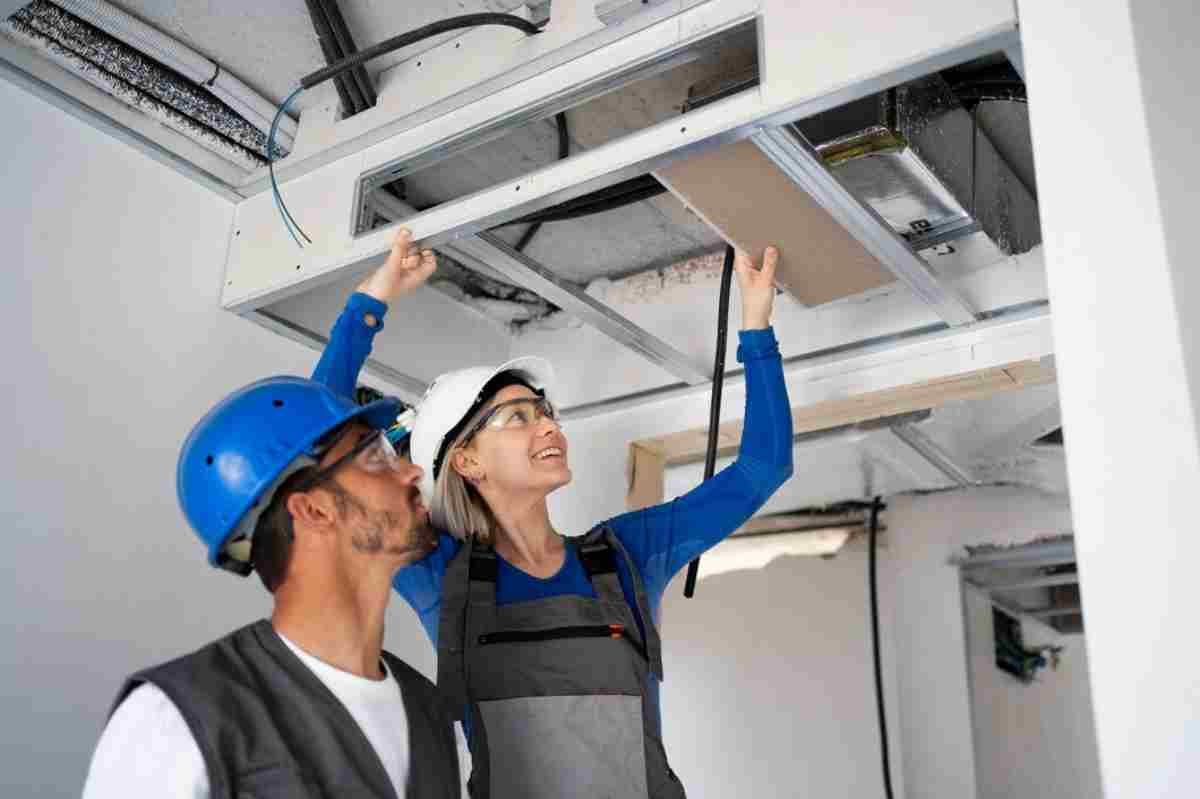
A well-executed AC installation is crucial for ensuring optimal performance, energy efficiency, and the longevity of your air conditioning system. Improper installation is one of the leading causes of frequent breakdowns, increased energy bills, and poor air quality. That’s why hiring a professional for your AC installation is essential.
Benefits of Professional AC Installation
- Energy Efficiency: Correct installation ensures your AC consumes less electricity while providing powerful and consistent cooling, reducing monthly energy bills.
- Improved Air Quality: Properly installed ductwork and filters enhance indoor air quality by minimizing dust, allergens, and pollutants.
- Extended Lifespan: Professional installation reduces strain on components, minimizing wear and tear and extending the unit’s lifespan.
- Consistent Cooling: Eliminates uneven temperatures and provides uniform cooling across all areas.
- Safety: Prevents risks such as refrigerant leaks, electrical faults, and other hazards associated with incorrect installation.
Factors to Consider Before AC Installation

1. Selecting the Right AC Type
Each AC type serves different needs. Choose according to your space and requirements:
- Split AC – Ideal for most homes and offices; offers quiet and efficient cooling.
- Window AC – Best for small spaces with a single opening for the unit.
- Central AC – Suitable for larger buildings; cools multiple rooms simultaneously.
- Portable AC – Offers flexibility but is less efficient than permanent units.
2. Correct AC Size and Capacity
Choosing the right AC capacity (measured in BTUs) is critical. An undersized unit struggles to cool, while an oversized one wastes energy. A professional HVAC technician can calculate the ideal size based on your room’s square footage and insulation.
3. Best Location for Installation
- Indoor Unit: This should be mounted at a height for better air distribution and away from direct sunlight or heat sources.
- Outdoor Unit: Needs a well-ventilated space for proper airflow and heat dissipation.
4. Professional Installation vs. DIY
DIY may seem economical but can lead to installation errors. A certified HVAC technician ensures:
- Accurate connections and refrigerant levels
- Compliance with safety codes
- Long-term system reliability
Step-by-Step Guide to AC Installation
1. Preparation
- Evaluate the site and ensure structural support.
- Check voltage and electrical setup.
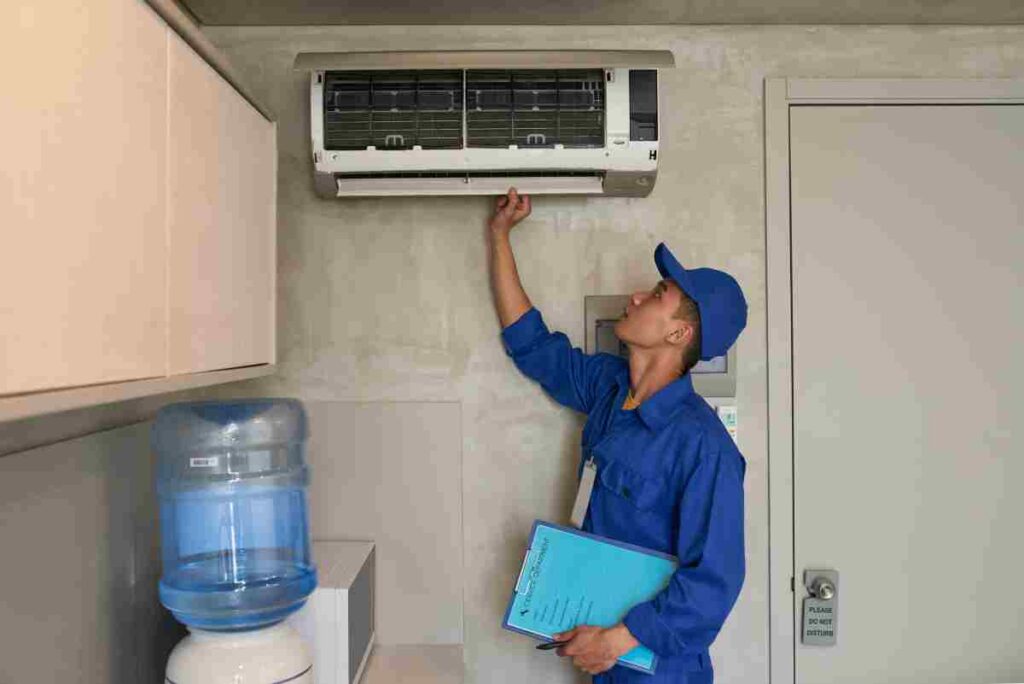
2. Installing the Indoor Unit
- Fix the wall bracket.
- Secure the unit and connect refrigerant lines.
- Insulate and seal any openings.
3. Setting Up the Outdoor Unit
- Install on a flat, elevated platform.
- Connect piping and wires properly.
- Test for refrigerant leaks.
4. Final Testing and Calibration
- Run a test cycle to verify performance.
- Adjust the thermostat and check for vibrations or airflow inconsistencies.
Post-Installation Maintenance Tips
- Clean Filters: Replace or clean every month.
- Check Refrigerant: Monitor levels to avoid cooling issues.
- Clean Condenser: Remove leaves, dirt, and debris.
- Annual Servicing: Schedule a professional inspection every year.
Common AC Installation Mistakes to Avoid
- Choosing the wrong AC size
- Poor ventilation and ductwork design
- Incorrect placement of the outdoor unit
- Overcharging or undercharging refrigerant
Conclusion
A professional AC installation ensures immediate cooling comfort, long-term energy savings, consistent performance, and fewer repair issues. Choosing the right unit, proper placement, and certified technicians will maximize your investment and keep your indoor environment cool and healthy all year round. For reliable results, always trust experienced HVAC professionals.
Frequently Asked Questions (FAQs)
Q1: How long does professional AC installation take?
On average, a standard split AC installation takes 3–6 hours, depending on the complexity of the site and system.
Q2: Can I install an AC unit myself?
DIY installation is not recommended due to safety risks and potential damage. Always hire a certified HVAC technician for optimal results.
Q3: How often should I service my AC after installation?
It’s recommended to service your AC Work at least once a year to maintain performance and prevent major issues.

